Having an ice maker in your Samsung refrigerator provides the convenience of having ice ready anytime you need it. However, when the ice maker gets stuck or just won’t come out for cleaning or repairs, it can be a frustrating experience. With some basic tools and following key troubleshooting steps, you can get your ice maker removed to address any issues.
Here’s a quick summary of the steps:
| Step | Action |
|---|---|
| 1 | Turn off the water supply and electricity to the ice maker |
| 2 | Remove ice from the ice maker |
| 3 | Detach water and electricity lines |
| 4 | Remove mounting screws |
| 5 | Slide ice maker out |
| 6 | Clean ice maker housing |
| 7 | Install new ice maker (if replacing) |
With the proper precautions and tools in hand, you can tackle this repair job yourself and save the cost of a service appointment.
Safety First! Before starting any appliance repair job, be sure to:
- Unplug the refrigerator or turn off the circuit breaker
- Turn off the water supply valve behind the unit
This ensures there is no electricity or water flowing while you work.
What You’ll Need:
- Flathead screwdriver
- Phillips head screwdriver
- Adjustable wrench
- Replacement ice maker (if replacing)
- Bucket to collect ice cubes and water
Step-by-Step Instructions
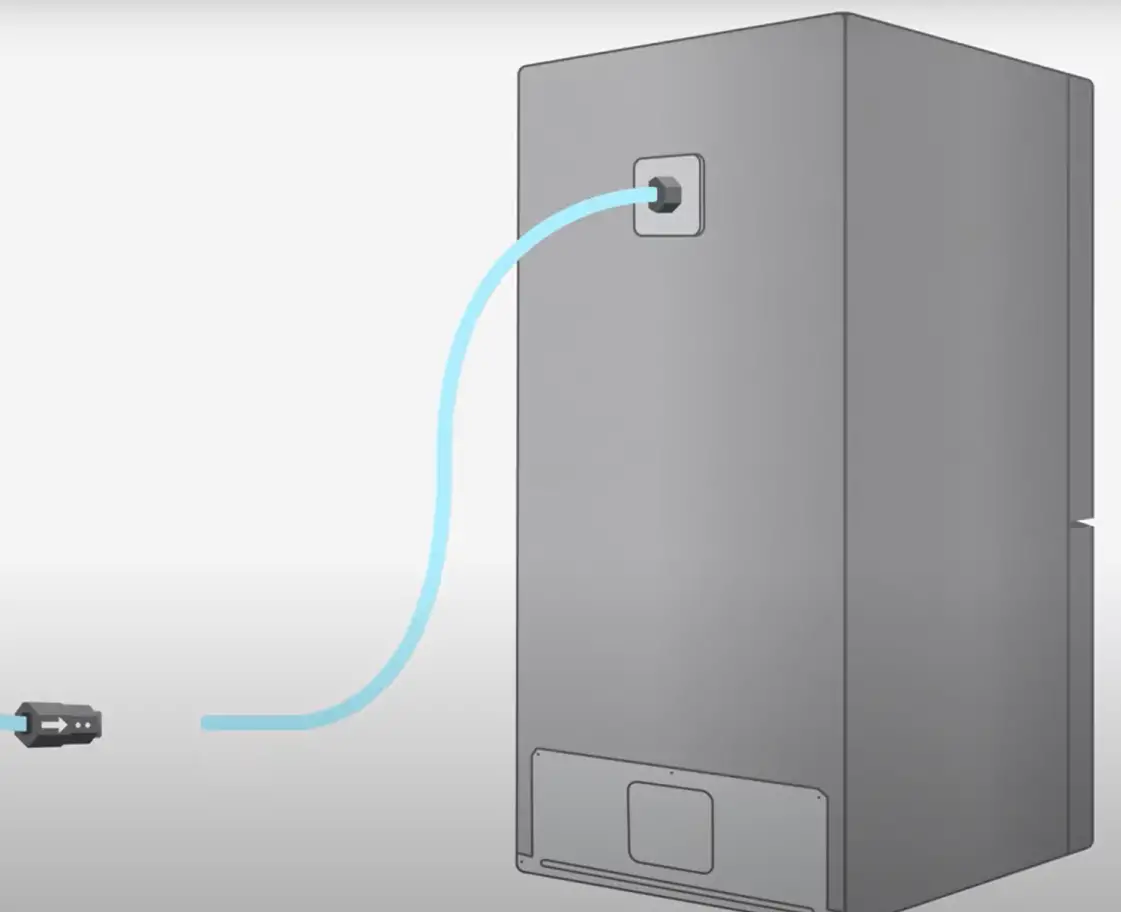
Step 1: Turn Off the Water and Electricity Supply Locate the water supply valve, typically underneath the refrigerator chassis, and turn it clockwise to shut off water flowing to the ice maker. Then, unplug the refrigerator from a wall outlet or flip the circuit breaker to ensure no accidental electrocution.
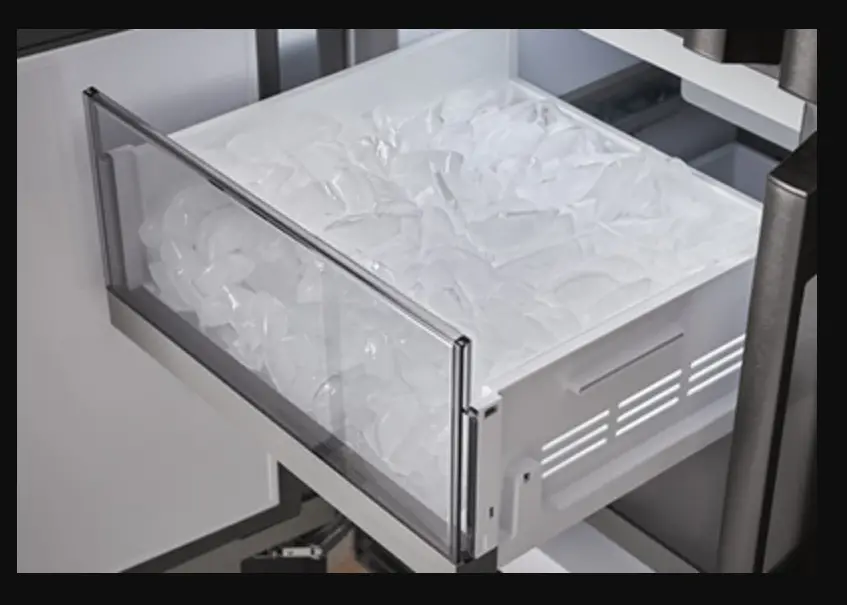
Step 2: Remove Any Ice Buildup. Take out existing ice cubes stored in the ice bin. This gives you full access to the ice maker. Use a plastic utensil to chip away at any stubborn ice buildup on the maker. Avoid using sharp metal tools that could damage it. The goal is to clear all ice before detaching any parts.
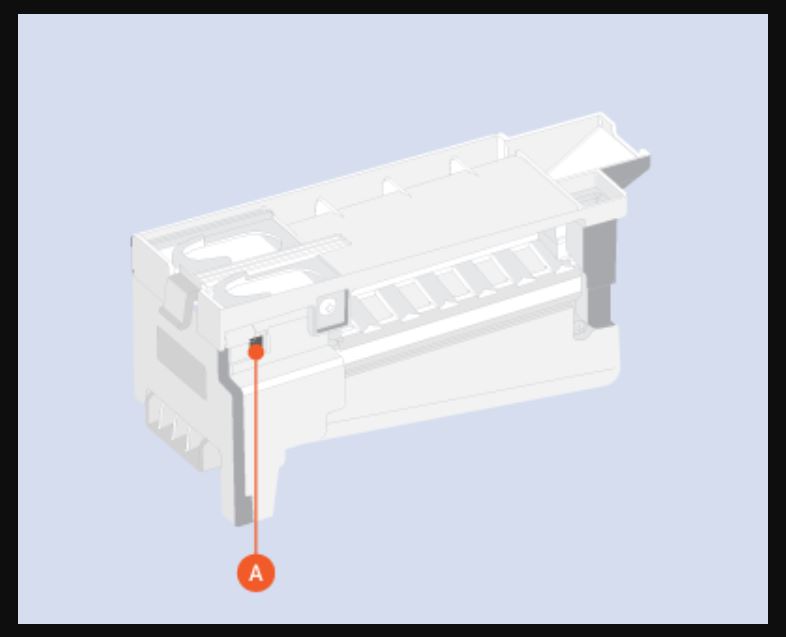
Step 3: Detach Water and Electric Lines On the backside of the ice maker, you’ll see plastic water lines and an electrical cable. First, gently release the water tubes by pressing in on the collet ring while pulling back the tubing. Use an adjustable wrench to loosen any compression fittings. Next, depress the connector latch on the electric plug to release the wiring harness. Make a note of wire colors and locations to aid in reinstallation later.
Step 4: Remove Mounting Screws Look along the top front side of the ice maker to locate mounting screws. The quantity and placement vary by Samsung model. Use a Phillips head screwdriver to back these screws out completely and set aside. There may be additional screws along the side or underside. The ice maker must detach completely from the housing before pulling it out.
Step 5: Slide Out Ice Maker With all fasteners removed and lines disconnected, slowly pull out the ice maker assembly. Sometimes, ice buildup behind the unit leads to a stubborn, stuck ice maker. In that case, gently rock it back and forth while applying steady outward pressure. Patience and care here prevent breaking the mounting brackets.
Step 6: Clean Ice Maker Housing With the assembly fully removed, take time to clean dust, grime, and leftover ice fragments from the recess cavity where the ice maker sits. This also allows you to inspect for any cracks or damage on those housing surfaces.
Step 7: Install New Ice Maker (If Replacing) For those opting to replace rather than clean and reinstall the original ice maker, carefully unpack the new unit before mounting. Again, take note of the water line and electrical harness connectors for proper orientation later on.
Reverse the earlier steps by securing the unit into place with the mounting screws, reconnecting lines and fittings, and restoring electricity and water flow once the installation is complete. Refer to your specific model’s manual if unsure of the exact placement.
Helpful Tips and Tricks
- Use a hair dryer to melt ice if it won’t chip away
- Twist the ice maker while pulling it outward to break free
- Apply hot water along the backside to loosen especially stuck units
- Ensure new gaskets properly seal if replacing the ice maker
FAQs
Q: Why does my Samsung ice maker get stuck?
A: Common reasons are ice buildup and freezer malfunctions preventing proper ice release, broken or jammed ejector arms, failed water valves, or bad control boards.
Q: Should I unplug the refrigerator when removing the ice maker?
A: Yes, disconnecting electricity and water lines allows the ice maker to work safely.
Q: How do I clean a Samsung ice maker?
A: Wipe down accessible areas with a soft cloth and warm water. For deep cleaning, remove the entire ice maker unit and soak/rinse under the sink faucet using an ice machine cleaner.
Q: Can I remove just part of the ice maker?
A: Most Samsung units require removing the whole ice maker assembly for repairs. Trying to pry off sections could damage the unit.
Credit: Parts Dr/ YouTube
What’s Our Take on This Topic?
As refrigerator experts, we’ve seen our fair share of stuck Samsung ice makers over the years. In most cases, the issue stems from a failure to defrost and clean out the ice maker assembly regularly. Allowing ice buildup behind the unit can clump mechanisms together until removal becomes difficult or impossible. We recommend wiping down accessible ice maker parts at least once a month using only soft towels and approved cleaners per the manual.
Catching basic maintenance helps, but production issues can also arise with the ice maker ejector’s arms, sensors, and insulation, causing stubborn sticking. Gently working to melt ice buildup and methodically disconnecting all mounting points is crucial, rather than brute forcing components that may break easily. Periodic replacement of older ice makers every 5-7 years can further help avoid sticky situations in the long term. Following the proper protocols for safely extracting your ice maker gets issues resolved quicker and ensures no leaks or component damage down the road.
Conclusion
In conclusion, fully extracting an unresponsive Samsung ice maker takes shutting off the water, releasing all connections, clearing out ice buildup, and properly sliding out the unit. Following the systematic troubleshooting steps above while carefully handling the components should help resolve common stuck ice maker problems. Reach out to Samsung support if issues persist after removal and cleaning.