As a refrigerator expert with over ten years of experience repairing KitchenAid models, I often get asked how to defrost them properly. Allowing frost to build up over time is common but decreases efficiency and cooling capacity. Defrosting your KitchenAid refrigerator is an important maintenance task that should be done annually or when frost build-up exceeds 1⁄4 inch.
This comprehensive guide will walk you through the entire process step-by-step, explain what causes frost first, provide helpful tips and tricks, answer frequently asked questions, and offer my professional advice on best practices. With a little time and effort, your KitchenAid refrigerator will look and work like new again.
Quick Steps Summary:
| Step | Action |
|---|---|
| 1 | Unplug the refrigerator and remove all food items |
| 2 | Use towels to catch defrost water |
| 3 | Use a plastic scraper to remove large ice chunks |
| 4 | Boil water and pour it into ice trays to speed up defrosting |
| 5 | Wipe down interior surfaces |
| 6 | Plug the refrigerator back in and set the temperature |
What Causes Freezer Build-up
Frost and ice build-up happens over time from:
- Warm, moist air entering the fridge when the door opens
- Food releases moisture as it cools
- Automatic defrost systems not working properly
- Too much build-up makes the compressor work harder, wasting energy. Defrosting removes this build-up.
Step-by-Step Defrosting Instructions
Follow these steps to safely and effectively defrost your KitchenAid refrigerator:
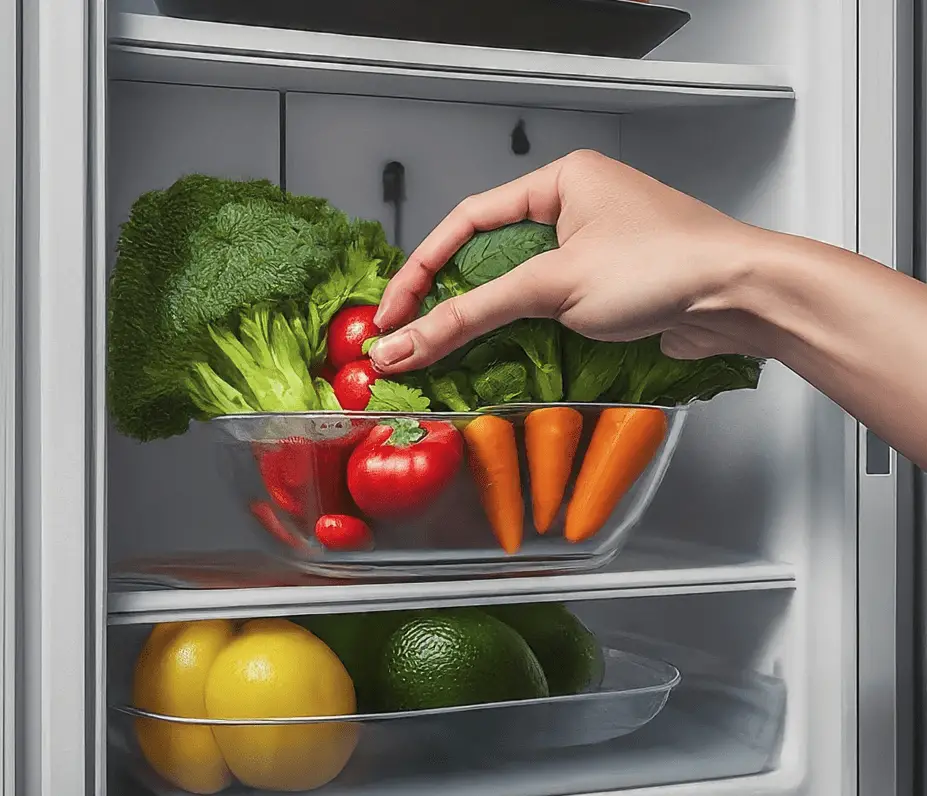
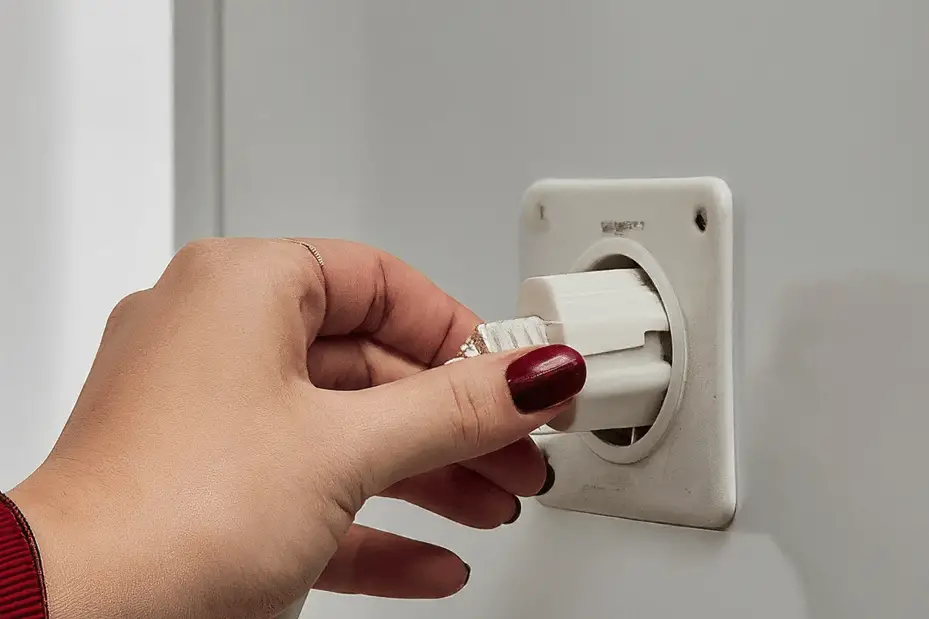
1. Remove Food and Unplug the Unit. Taking out all food items prevents them from spoiling or getting contaminated during defrosting. Unplugging the refrigerator prevents electric shock risk and allows the interior to warm up faster.
2. Protect Floors and Catch Defrost Water. Place towels underneath and around the refrigerator to soak up melted frost water. Have a shallow pan ready to catch overflow drainage once the ice melts faster.
3. Remove Large Frost Chunks. Use a high-quality plastic scraper to chip off any thick frost chunks or layers, especially near the rear wall and inner shelves. This allows warm air to penetrate deeper and speed up the process. Avoid using metal scrapers or sharp tools that might damage the appliance’s interior.
4. Pour Boiling Water into Ice Trays. Filling the provided ice trays with hot tap water helps accelerate defrost time. The heat will spread to other frosted areas quicker than air temperature alone. Repeat as needed for thicker ice layers.
5. Wipe down interior surfaces. Thoroughly wipe down all inner surfaces—walls, floor, rubber gaskets, compartments, etc. Disinfect and remove any grime build-up while accessible.
6. Reconnect Refrigerator Power Supply. Double-check for any standing water or damp areas, then reconnect the power cord. Set temperature controls to normal ranges. Allow a few hours for the interior temperature to stabilize before returning food.
Helpful Defrosting Tips
- Defrost once a year or whenever frost exceeds 1⁄4 inch thick.
- Avoid using knives or metal scrapers to prevent damaging the refrigerator lining.
- Don’t use direct heat sources like hairdryers or space heaters near plastic components.
- Placing bowls of hot water inside speeds up defrost time.
- Clean door gaskets and compartments for longer freshness.
Frequently Asked Questions
- How long does it take to defrost a KitchenAid refrigerator?
It typically takes between 3-6 hours, longer for thicker ice layers. Pouring hot water into ice trays can reduce time considerably.
- Can I use a hair dryer to speed up freezer defrosting?
No, the forced hot air can warp or melt interior plastics. Use hot water instead for accelerated defrost.
- What is the best plastic scraper tool for frost removal?
For best results, commercial refrigerator scraper tools with thick, durable plastic blades and ergonomic handles.
- How can you prevent frequent frost build-ups?
Ensure door seals are intact, limit openings, vacuum dust near the condenser, and maintain proper temperature levels.
Credit: @TorontoMavens/ YouTube
Conclusion
Allowing thick frost layers to accumulate decreases your refrigerator’s effectiveness and lifespan over time. Annual defrosting maintenance keeps your KitchenAid unit running at peak performance. Following this comprehensive guide, the process takes just a few hours.
Reclaim wasted space, improve efficiency, and ensure all refrigerated food items remain fresh by properly defrosting once a year or whenever substantial frost build-up occurs.
What’s Our Take on This Topic
Proper regular defrosting is essential for efficiency and safety. Excess frost build-up strains compressor motors, decreases usable capacity, and risks temperature regulation issues. Carefully following the included step-by-step instructions allows safe DIY defrosting without damaging components or voided warranties.
Invest a few hours once a year to optimize cooling performance, electricity usage, and food freshness preservation of your KitchenAid refrigerator. Preventive maintenance saves money over the full lifespan of quality appliances.

